Chrome River Training Guide for Manhattan University
This document will show you our report types, how to set up an expense report, and how to reconcile your credit card statement. If you need more help You can also find links on the Chromeriver dashboard under HELP.

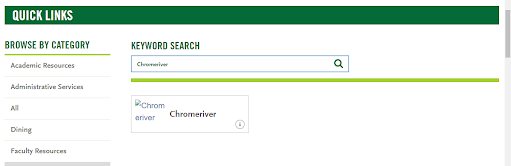
Chrome River is accessed through Quick Links using your Single Sign On credentials.
Before you get started:
**Please make sure your receipts are loaded into Chrome River for easier creation of Expense Reports. You can email a photo of the receipt to receipt@ca1.chromeriver.com, or you can log into the Chrome River app and take a picture of the receipt or load from your photo album. You can find the Chrome River app in the App Store or Play Store. See How to take a photo of a receipt from your phone app.
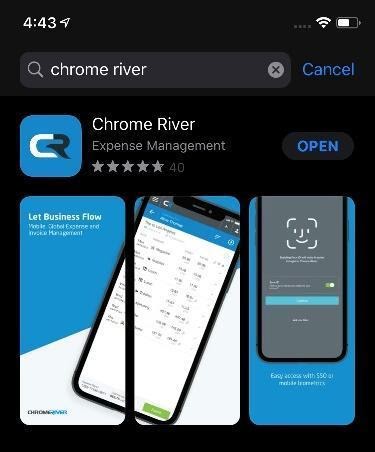

Apple Store Google Play Store
NOTE: The first time you log into the phone app you will be asked to enter a verification number that will be sent to your Manhattan University email address.
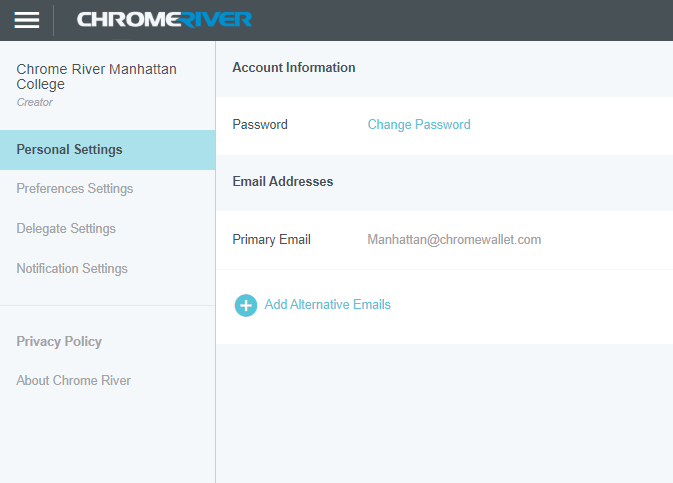
- Prior to creating your first expense report, you may want to update your personal settings. If you use another email address other than your Manhattan.edu email, you will want to set up an alternative email address.
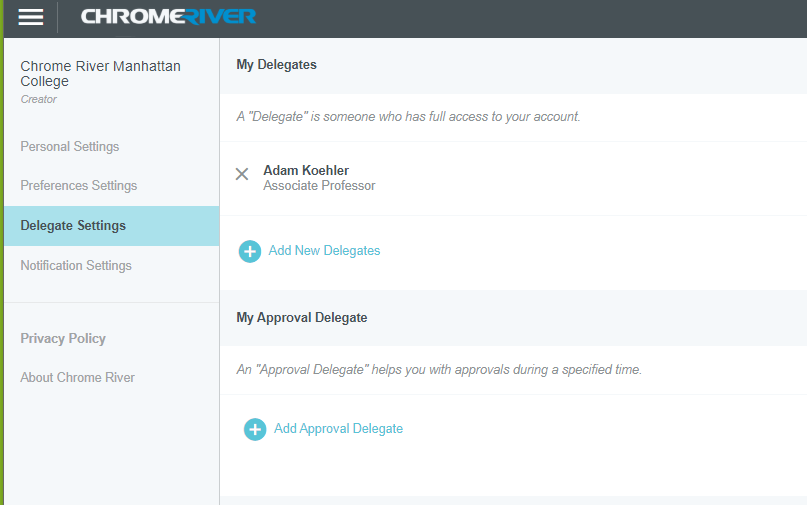
2. You may also want to set up a delegate on your behalf. This person would be able to create expense reports on your behalf.
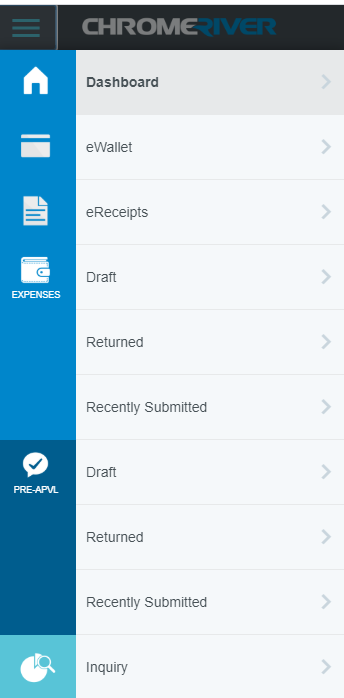
3. To create an Expense Report, you will select +New button on the top right.
a. The Report Types are:
i: Individual Travel includes: General Travel and Athletic Recruiting
ii: Group Travel includes: Athletic Contest, Athletic Practice, Field Trips and Group Travel
iii: Credit Card Non T & E: Use to reconcile all Non T & E credit card transactions.
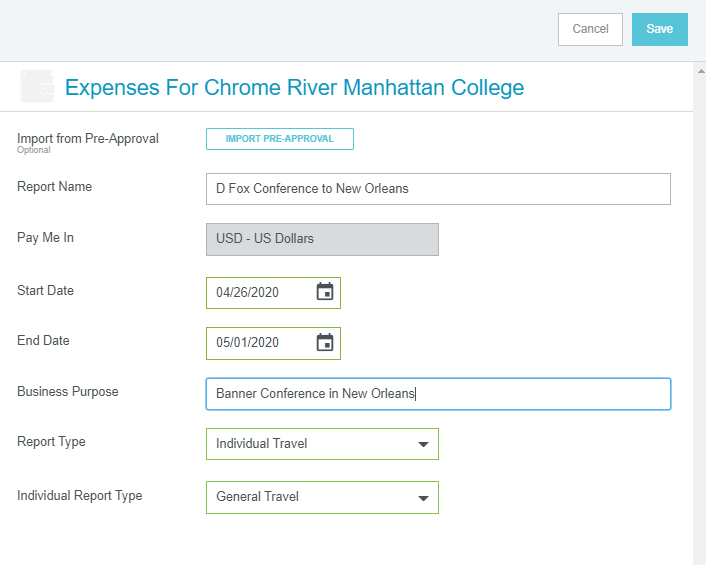
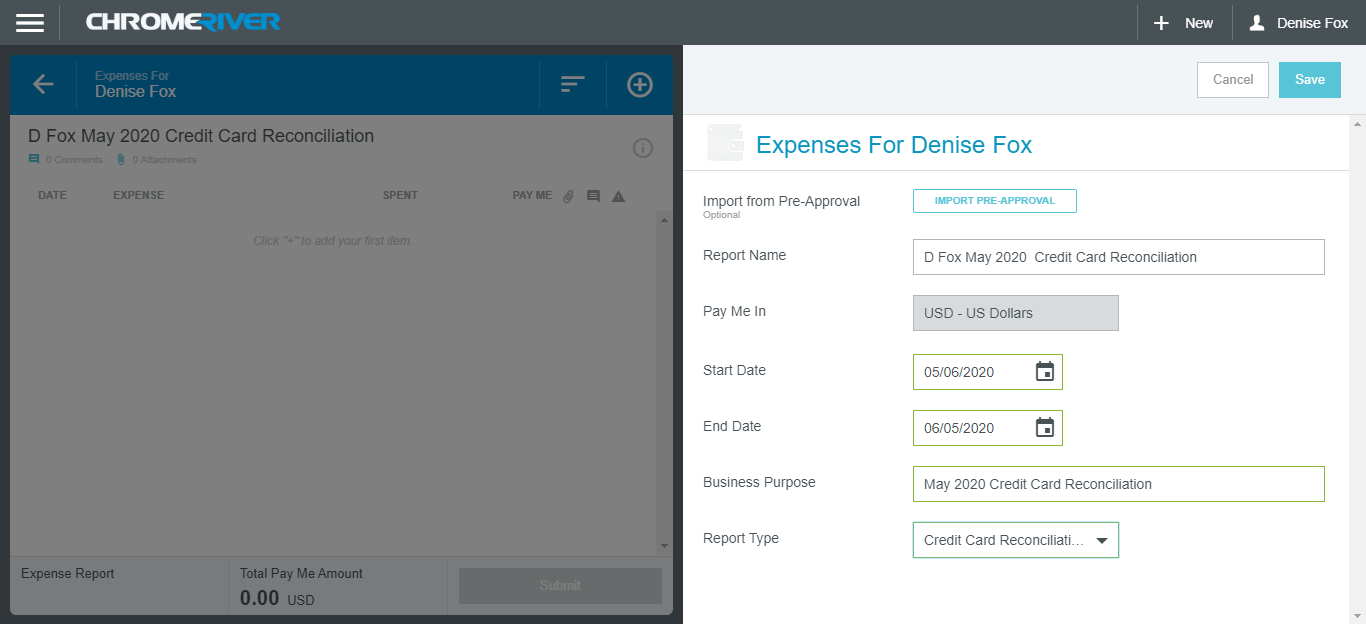
b. Make sure to complete all sections of the Expense Report header. Save.
i: Report Name should have First Initial Last Name and Trip Identifier.
ii: Business Purpose should indicate Location of trip and purpose.
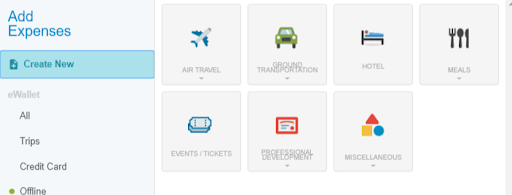
4. Add Expenses to your Expense Report. If the Expense is an out of pocket expense, you will use the Create New and manually add in the amount to that is reimbursable.
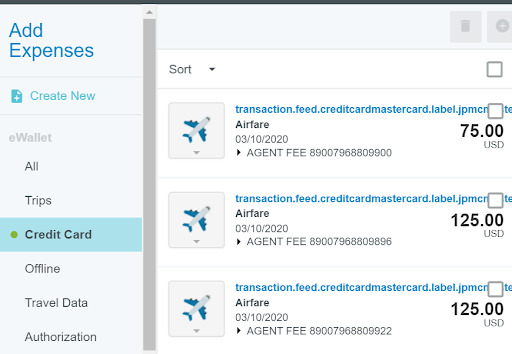
If you have credit card transactions to add to the report, you will find them under Credit Card in your eWallet. The system can identify the expense type by the Merchant, however if you see a question mark (?) then you will need the arrow to drop down to select the correct expense type. All credit card transactions require an attached receipt.
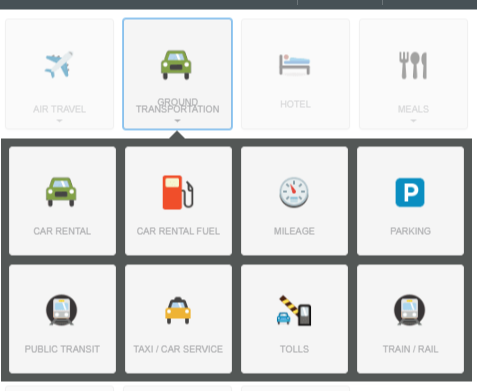
Keep in mind that the tiles with the down arrow have multiple expense types under the primary tile. Ground Transportation is an example below.
5. Make sure to select an allocation for your Fund/Org. - by tapping on the allocation bar and typing the org code or name. All funds including restricted funds have been loaded into the database. For Travel Expenses the tile is mapped to the Account Code. It is possible to split between other Fund/Org’s by percentage or dollar amount.

6. When adding expenses, you may encounter a warning message. The message will indicate information that is needed to complete that expense. A response is required in order to continue.
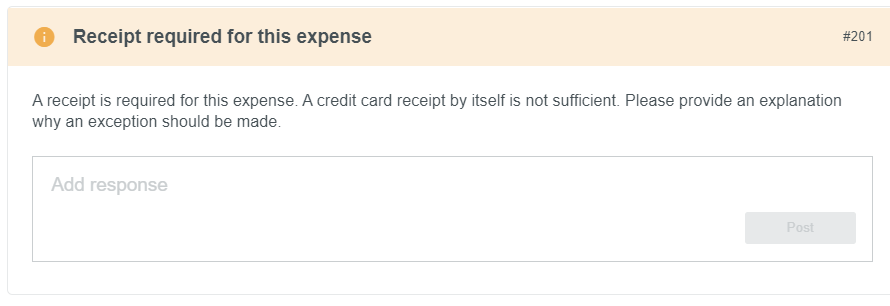
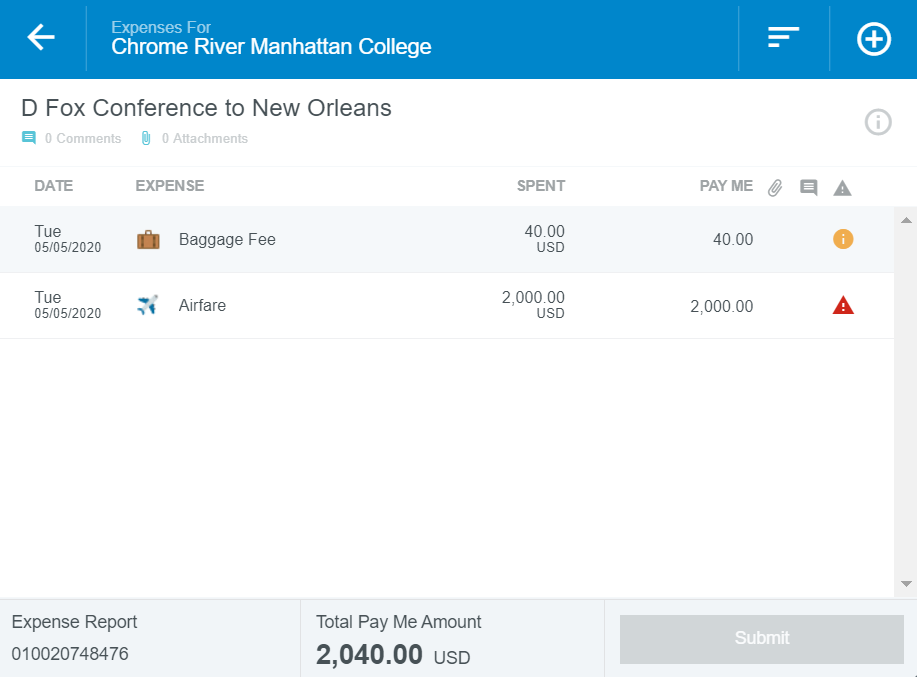
If the response is not entered, you will see the warning symbol on your expense report. The orange circle is an indication that a warning has not had a response. Until the response is saved on the expense, the Submit will remain grey and will not allow you to submit your expense report.
7. For the Hotel expense type, you will enter the expenses from the hotel folio that are reimbursable to you in the Spent section. Enter all information on the form. After complete, select Itemize.
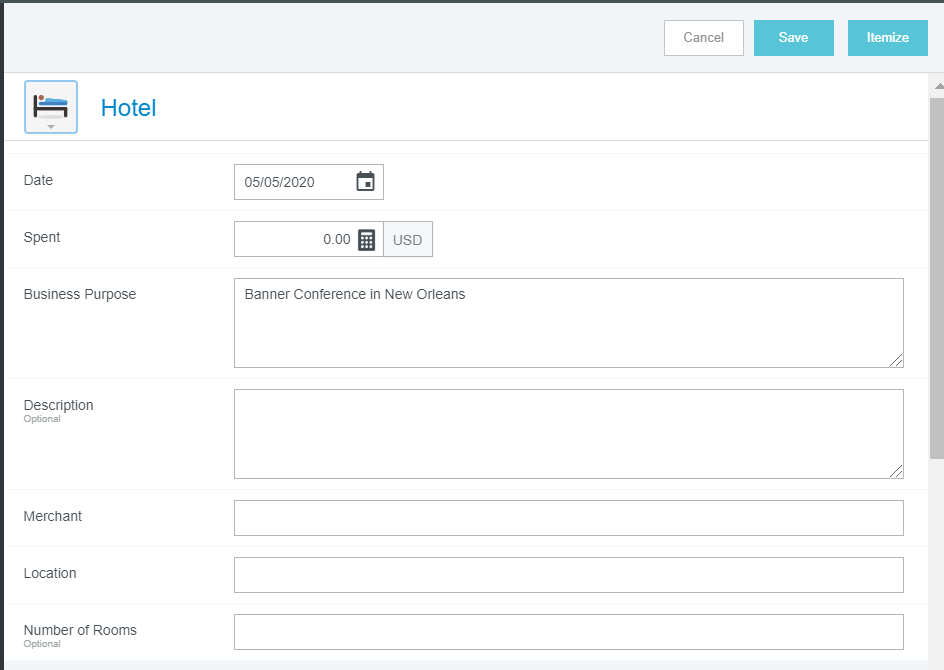
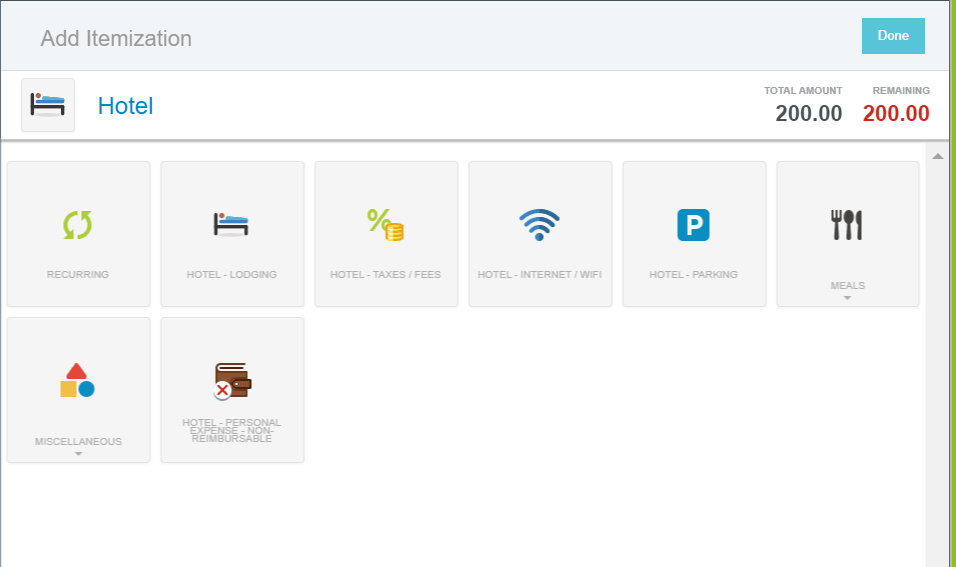
The Itemize section will allow you to select the expense type within your Hotel folio bill. For nights that the room rate, taxes and other hotel fees are all the same, you can use the recurring tile. If there are different rates by day, you would use the individual expense tiles.
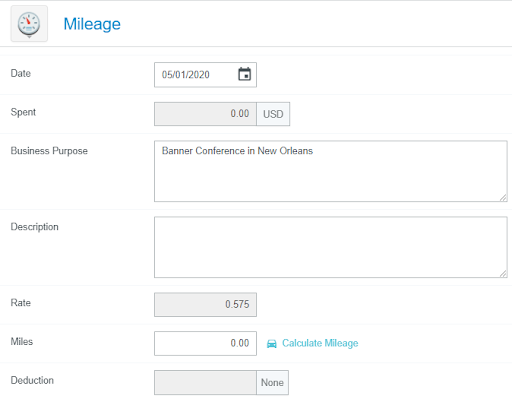
8. Some expenses may have additional features or requirements. For Mileage, Step #1 is to calculate your mileage by using the Calculate Mileage link shown below.
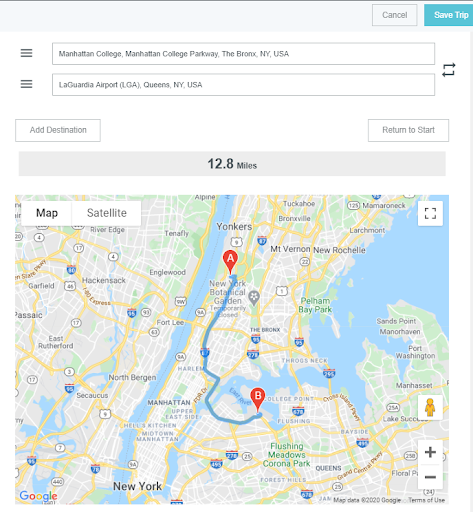
Enter your beginning location and ending destination. Google maps will calculate the mileage for you. Make sure to enter all destinations for 1 full day. If there Once entered, hit Save Trip.
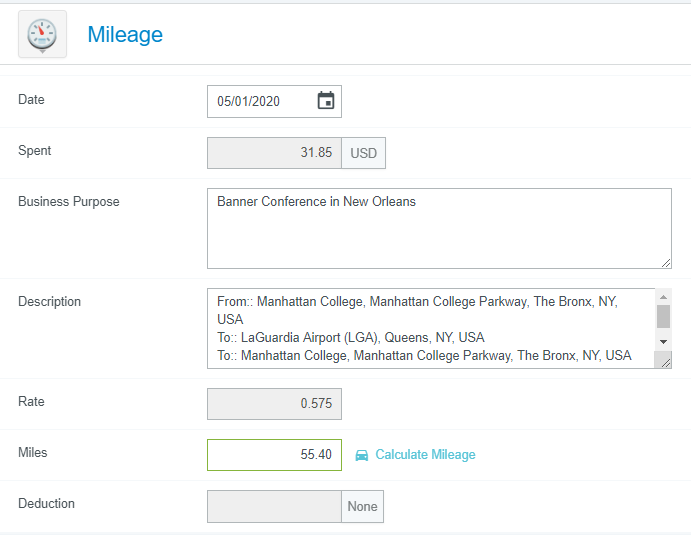
The Mileage amount will calculate based on your trip entry.
9. To view where your Expense Report is in the Approval process, first go to your Dashboard and select Submitted Reports.

You can see all of the reports that you have submitted within the last 90 days. From here you can select a report to view the tracking and you can recall if you need to make changes to your report. A PDF version is available if you choose to keep a hard copy on file.
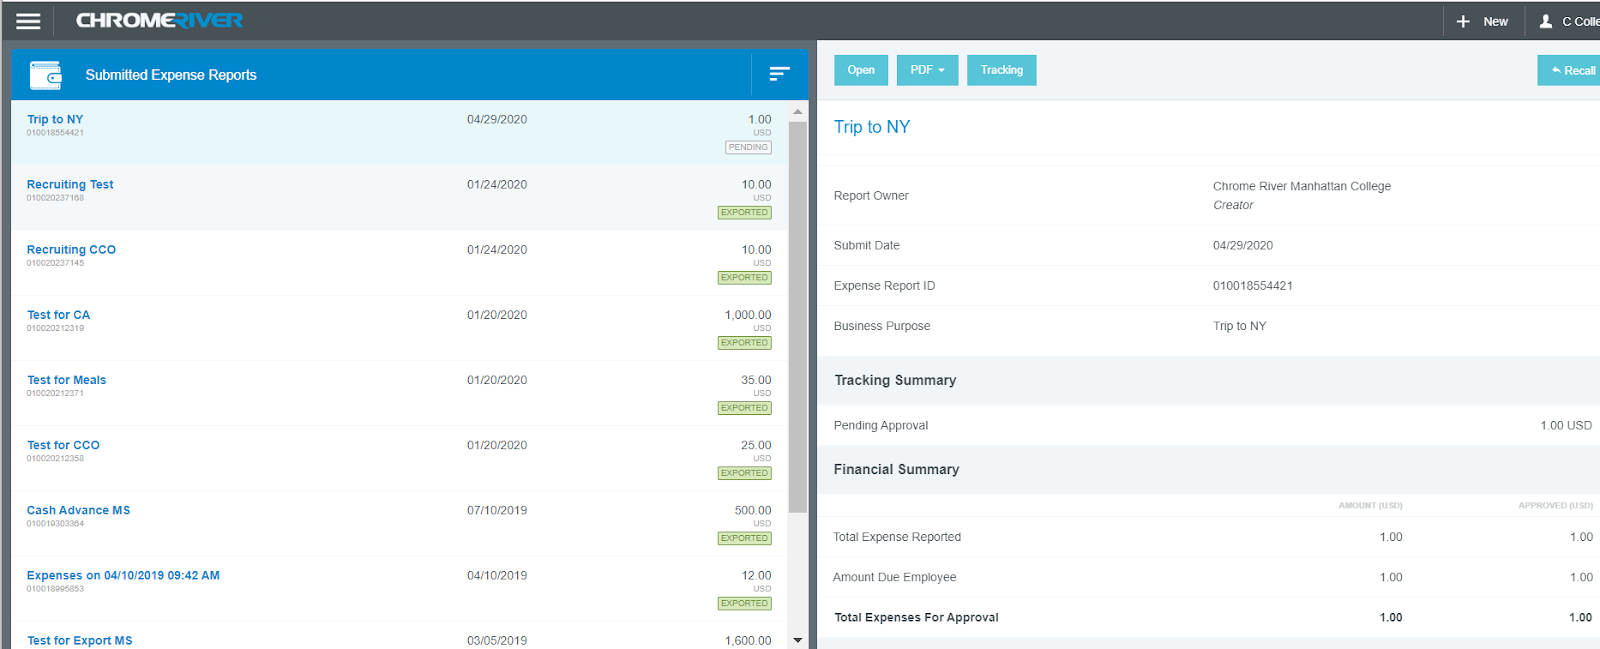
To track where your expense report is in the approval process, select Tracking. The approvals are under Routing Steps. If you select the button with the routing number, you will see who it is assigned to approve.
**The report will go to your Supervisor, unless the trip is for specialized travel for example, Study Abroad and Love Trip. In that case it will get routed to the Budget Owner for that Organization.
![]()
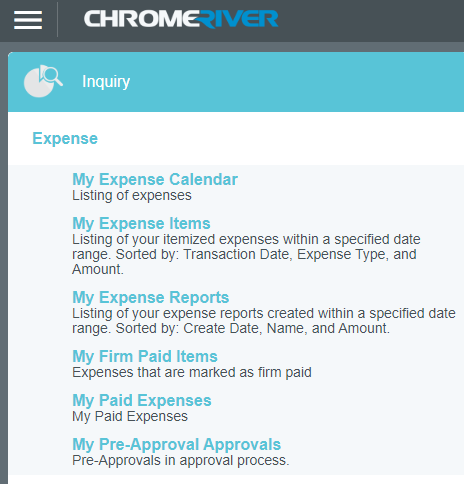
10. You will be able to run reports for expense reports you submit for yourself, or for someone else as their delegate. The top left menu will have your reports under the Inquiry tab.
The list of Reports available to you are under Expense. These reports are items that pertain to you as the expense owner. For your monthly credit card reconciliation, you can run the report My Firm Paid Items. This report will identify your credit charges and allow you to see which transactions have been applied to a report.
You can add receipts through many methods. Please see Chrome River help page for guidance on all options here.
Creating a Credit Card Reconciliation Report
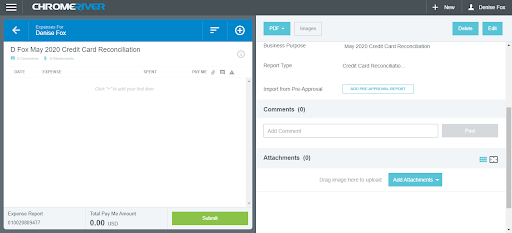
To reconcile your credit card transactions that are non T&E related, Create a Credit Card Reconciliation non T&E Report Type. Remember to upload your receipts for easier reporting before creating your report.
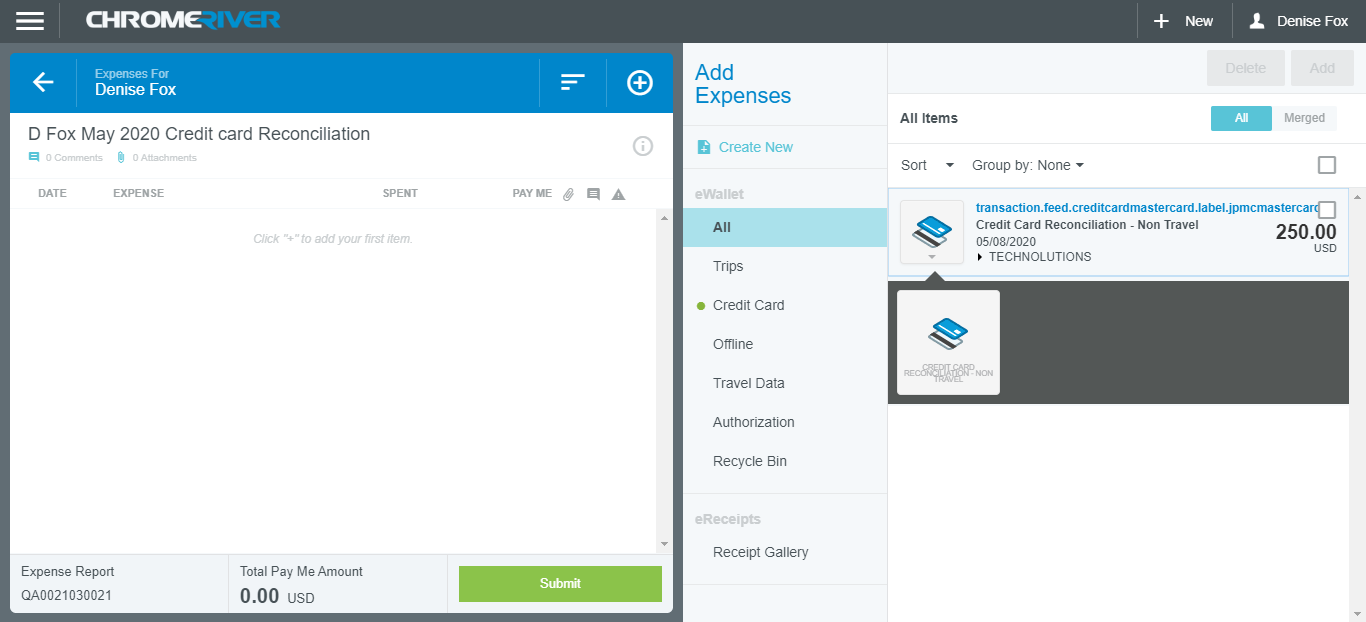
In your eWallet open credit card charges.
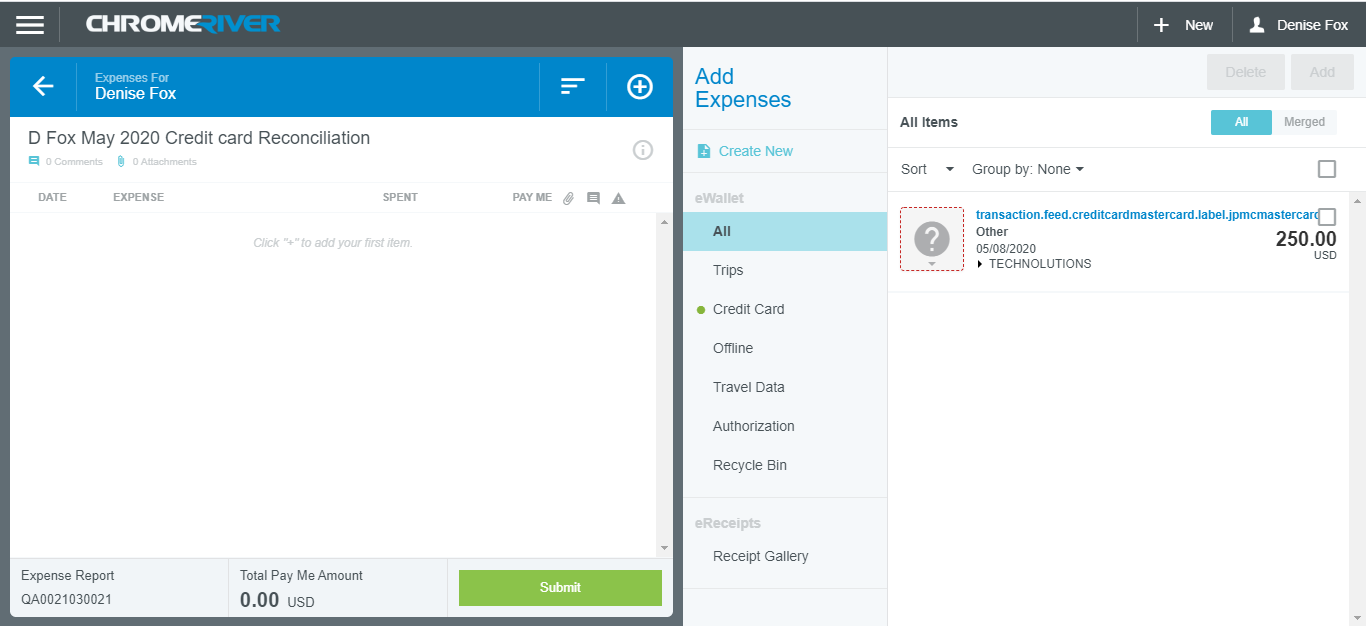
Using the drop down menu, tap on the credit card tile, check the box above the amount and hit the add button. Note: The Icon for all items for this type report has to be changed to the Credit Card tile. Receipts should be already uploaded into your Receipt Gallery. In most cases, the receipt will merge with the charge, but if it did not, you can add it to the charge.
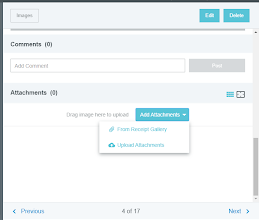
Receipts should be already uploaded into your Receipt Gallery. In most cases, the receipt will merge with the charge, but if it did not, you can add it to the charge by tapping on Add Attachments. If the receipt is in your “From Receipt Gallery” or Upload attachment if you have downloaded the receipt to your computer.
NOTE: Do not use “Add to Report” when you are in the receipt gallery for receipts for credit card charges. They will not merge and will appear as receipts that are reimbursable to you.
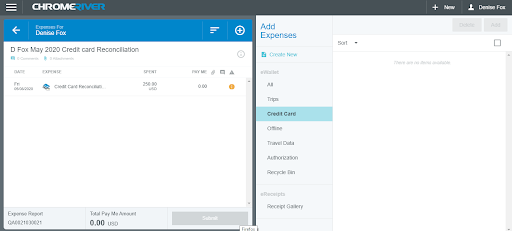
Choose the account for your expense from the allocation drop down menu and enter the allocation Fund/Org/Program and hit save.
This will move the expense item to your report.
When you have added all your expenses to the report, hit submit for approval.
Other Resources
Sign up for a training session at Chrome River Training. You can sign up for a live session at set times each week or access a prerecorded training that is available on demand. There are sessions for creating and submitting an expense report and approving expense reports. There are also links on the log on page.